You can blame this overly-picture-heavy post on Elica82, who left a disparaging comment on my previous post. So in her honor, I am going to take you through the ridiculous details of this project, and you'll have to read the whole thing to get to the money shot. Well, you don't have to clearly, but she'd better if she knows what's good for her.
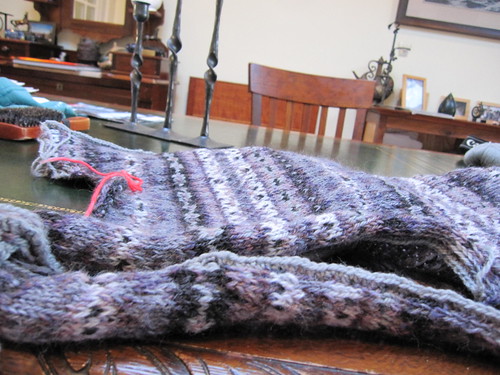
The First Step: admitting you have a problem. And then proceeding to ignore what this says about you person/knitter and blithely cast on the Ivy League Vest, a work of art by Eunny Jang.
The Second Step: Start off with enthusiasm and precision. Discover the joys of two-color ribbing. Marvel at the fact that your OCD with regards to color choices has paid off, at least so far.
The Third Step: Continue slogging away, but cracks are beginning to show. Will I make it?
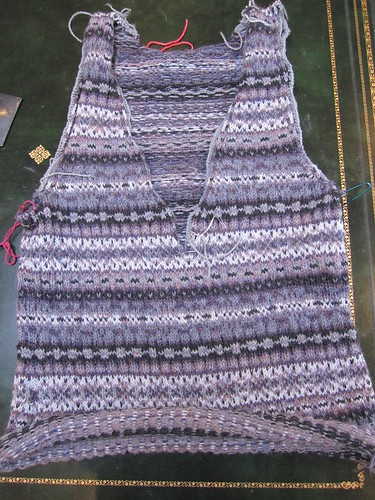
The Fourth Step: After a brief Eureka moment and much exhilaration, it becomes more and more clear that no, I will not make it.
The Fifth Step: Maybe? Maybe? Maybe? Nope. Still not going to make it.
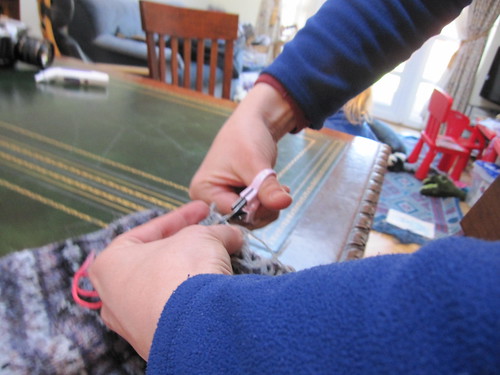
The Sixth Step: Acceptance, moving on, and slicing my knitting open with a pair of scissors. Which still gives me the cold sweats even to think about. Here's the montage:
Precutting:
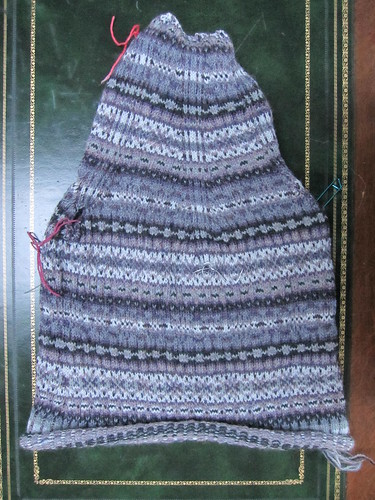
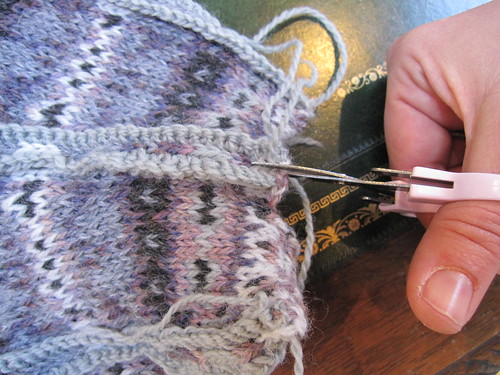
Crocheted steeks (thanks to Wimbledon Sewing Machine Company, who charged me a whopping £1.30 for a crochet hook):
My demonstration to Devil as to the reasoning behind taking sharp metal blades to precious knitwear:
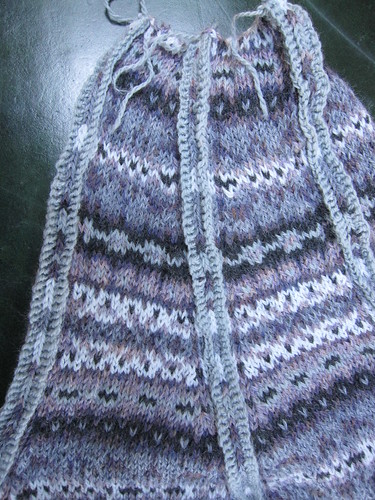
And here we go (some pix courtesy of my small Ansel Adams)!
Aaaaaaah!!! I can't watch!
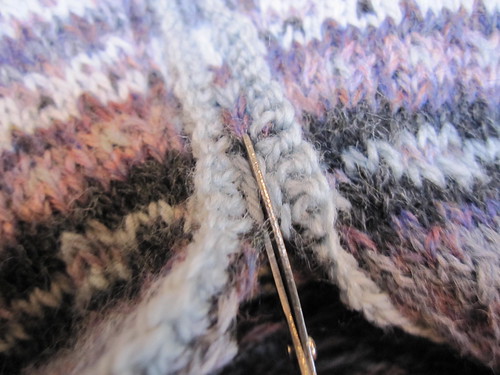
Is it holding? I think it's holding...
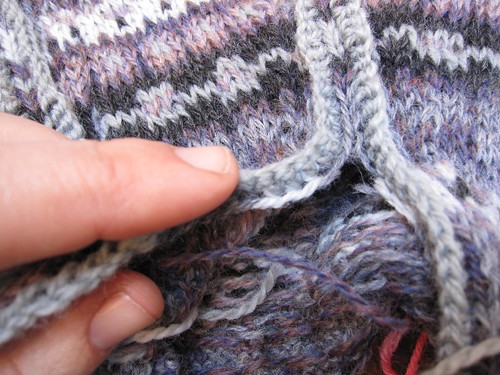
All done.
A more serious rundown of project and materials:
The Pattern: The pattern was, well...I'll be honest: this pattern and Interweave Knits' formatting were not a match made in heaven. I started off with the body chart and very quickly realized that I was going to go postal if I didn't do something to keep track of all the increasing and decreasing and steeking and shit that needed to happen. I solved the problem by copying the chart and writing all over it. I drew bright blue pen lines along the stitches vertically to show where the decreases and increases needed to happen, I made notations as to where steeks started, I wrote down and crossed off every neck decrease. The page is now completely illegible, and even that didn't save me from a few fuckups along the way. But I ended up being close enough to the correct stitch count at the end that I didn't have to do too much fancy hand waving to get it to all fit together. It's a complicated pattern, and not very clearly written, given the space constraints of the magazine. But it's not impossible either. Another option would be to rewrite the pattern with just the numbers you need for your size, and redo the charts so you've got the starting and stopping stitches on either side. But that seemed like too much work.
Speaking of sizes: I knit a chimeric monster of two sizes. For my bust measurement (40) I wanted the 37.75" size, since the pattern said each bust measurement would fit up to 5 inches larger with no problems. However, the 37.75" size had a hip measurement of 36.25 inches. Aka: far too small for my big ass childbearing lower half. So I knit the 41.75" size up to the waist decreases, then increased up to the number of stitches for the 37.75" size over the same number of rows as called for the increases for the 41.75" size, and then followed the directions for the 37.75" size. And damned if it didn't work!
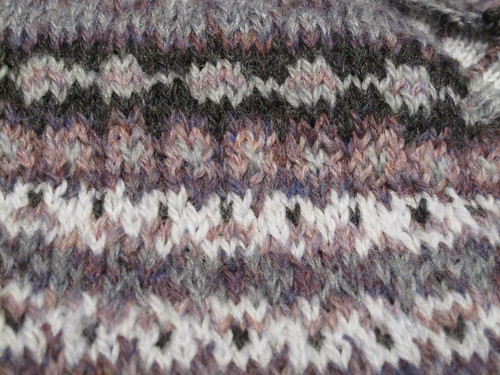
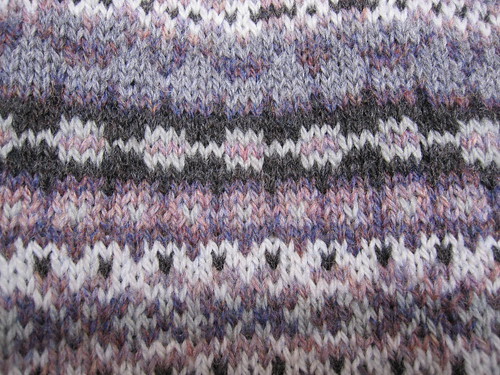
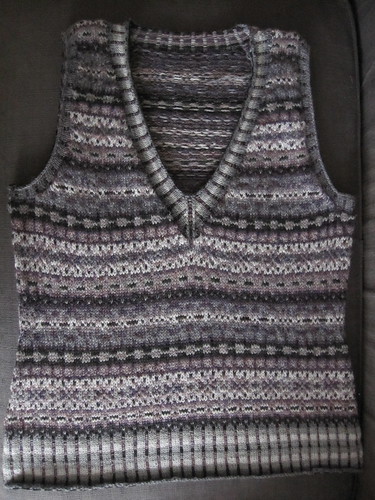
My only other issue with the pattern was that it was very unclear as to which colors were the background and which were the pattern (important for the steeks and the side seam purl stitch). I noticed as I was working the ribbing that the colors fell in to two groups: marble heather, mist and fog versus iris heather, clematis heather and asphalt heather. So when I could, those were "background" colors and "pattern" colors respectively. I also decided that if I came to a steek or a purl seam, and using the designated color was going to mean weaving in a float (i.e. more then four stitches of the same color), then I'd throw in the other color to avoid having to manipulate yarn balls more then was absolutely necessary.
How I solved the issue of yarn balls getting all tangled up:
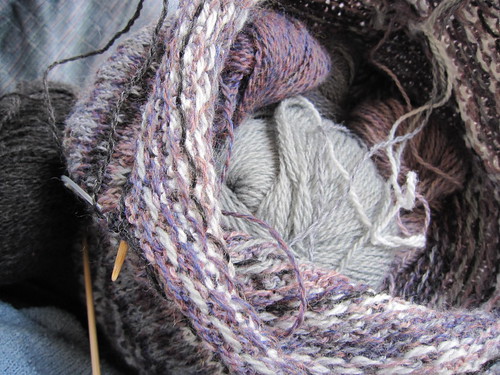
After the lower ribbing, I stopped breaking off each yarn when I finished with it - most of the colors were used at least every five rows, so I just carried them up along the side. My rationale was that 1) that would use less yarn and 2) give me fewer ends to weave in at the end.
The Yarn: I used Knit Picks Palette in this project. It was my first time knitting with this yarn, and I really like it for colorwork. I think anyone who knits socks with it is kidding themselves as it is a very loosely plied 2-ply yarn with low twist, and I can't imagine it would wear well as socks. But the colors are lovely, and it has that very useful "stickiness" needed for Fair Isle and steeking. A bit easy to split the plies while knitting, but nothing too terrible or annoying. I used less then one ball of each color in this project, although it was a bit hairy towards the end to see if I'd run out of the iris heather - I'd used a lot of it in swatches. But no worries. The final damage was marble heather: 43 g, asphalt heather: 34 g, iris heather: 43 g, clematis heather: 41 g, mist: 28 g, fog: 32 g.
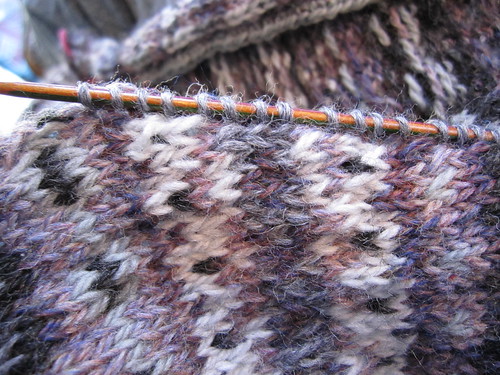
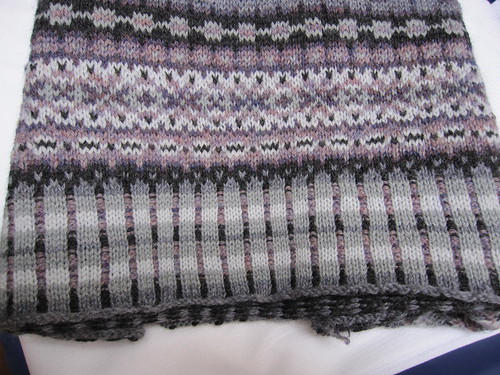
Other Details: Used US 3/3.25 mm needles for lower ribbing and body, US 2/2.75 mm needles for neck ribbing and armholes. In retrospect, I might have used US 2 needles for the lower ribbing too, as it tends to flare a bit (thankfully blocking took care of most of that). For the center neck decreases I used k2tog, p1 (center stitch), ssk to maintain the stripe of grey on either side of the center purl stitch. I liked that look better then the ssk/p1/k2tog that I originally tried. I whipstitched the crocheted edge of the steek down to keep it flat.
Neck decreases:
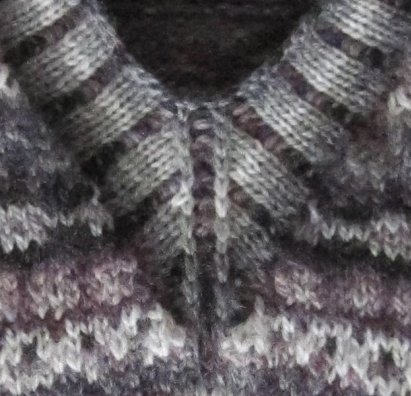
Nice screw up there porpoise...how did I manage to do that?
Gauge: pre-blocking: 7-7.5 stitches/7 rows per inch. Post-blocking: 7 stitches/7.5 rows per inch. Not surprisingly, my stitches were waaaaay wonky before blocking (gotta love Fair Isle, hunh?), and the ribbing was curling quite a bit.
But post-blocking, things smoothed out beautifully.
And now, the moment you've all been waiting for...The Money Shot(s):
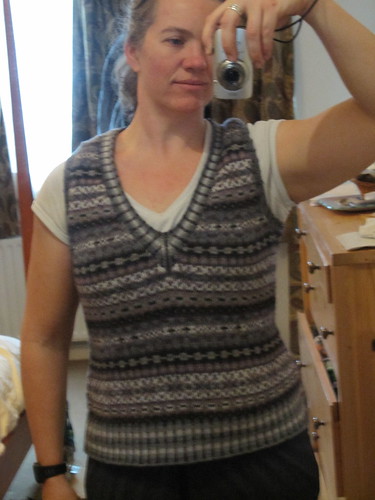
I'm wearing it to work tomorrow. And quite possibly every day thereafter. Please bury me in this sweater. Or in Venezia, which has now moved it's way up my mental queue. Because I need more Fair Isle insanity, right? Maybe I can do it for London 2012.
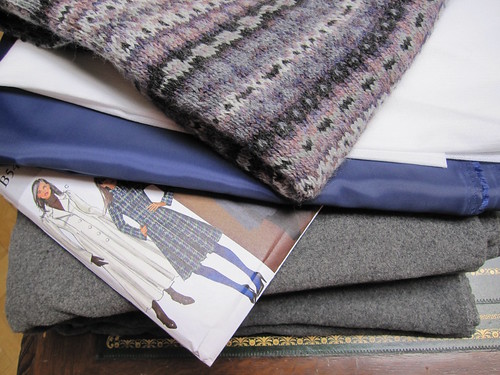
I seem to have moved into a grey/purple phase, since yesterday I bought supplies for a big sewing project. Hmmm....
(Was that enough photos for you Carmen?)
2 comments:
LOVE,LOVE,LOVE,LOVE,LOVE,LOVE,LOVE LOVE,LOVE,LOVE,LOVE,LOVE,LOVE,LOVE
LOVE,LOVE,LOVE,LOVE,LOVE,LOVE,LOVE LOVE,LOVE,LOVE,LOVE,LOVE,LOVE,LOVE
LOVE,LOVE,LOVE,LOVE,LOVE,LOVE,LOVE LOVE,LOVE,LOVE,LOVE,LOVE,LOVE,LOVE
Woman you outdid yourself. A Goddess you is, I tell ya. And NO that wasn't enough peekchures. But a most excellent attempt.
I approve.
wow.
wow wow
wow wow wo
i'm with the lady in houston - it's GORGEOUS. and even though i don't understand the half of it and giggle nearly uncontrollable every time you write steeks(i mean, really, what a ridiculous word) i am in awe.
now when are you headed to stateside, girlie?
Post a Comment